12 Dec 2012

Robust Milanese Osso Buco with Gremolata and Rice


I received a request on my Facebook page about whether I had a good recipe for Osso buco - and I was rather confident that I had blogged about it at some point. After a bit of browse through my site I realized that I had never prepared this dish for the blog before - I was rather surprised, since this dish is a classic. And it is certainly a recipe that every amateur chef has to have under the belt.

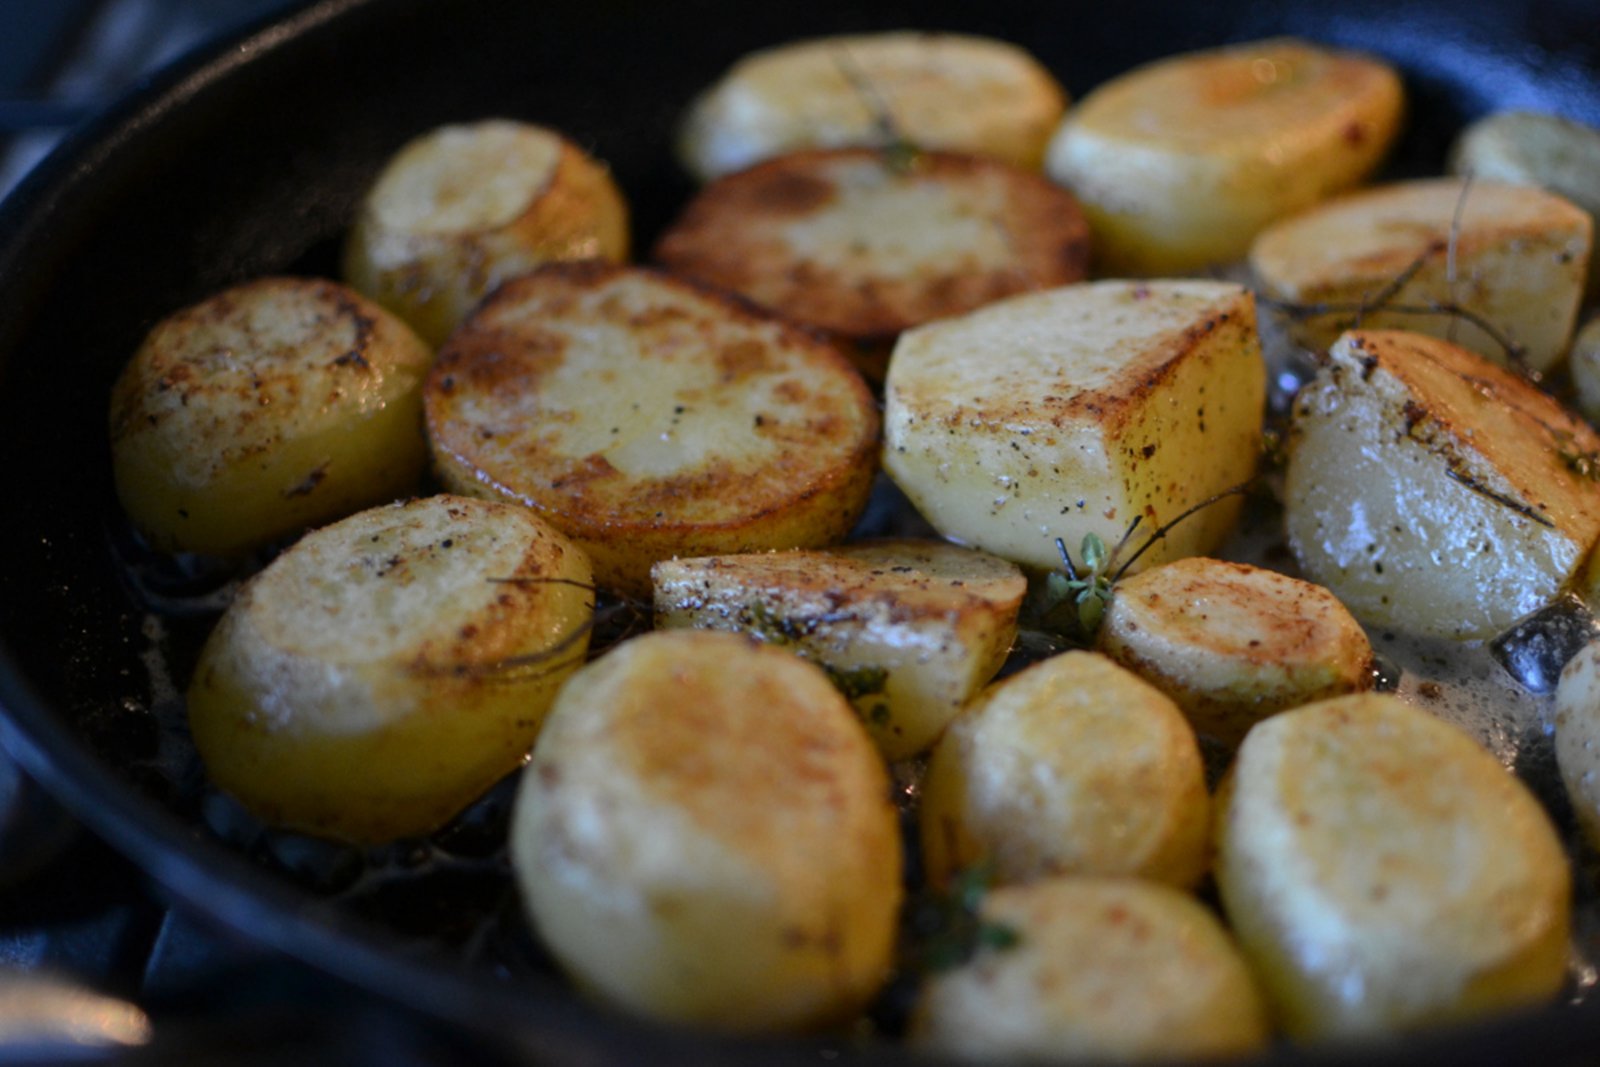
Now, this will be remedied! And I believe I met the challenge. When it comes to Osso Buco, two schools of gastronomy conflict - between the ones that use tomatoes in the recipe, and the ones that prefer not to. Tomatoes are probably a recent addition, since the original recipe which came into being around the turn of the 19th century in restaurants outside Milan do not include their mention. Before, it was tradition to serve risotto with the Osso buco, but personally I find it a little too rich - in my view rice or mashed potatoes do the trick. This time, I decided to simply serve rice (even I have limits).

There are many things about this kind of cooking that makes me rejoice. Here, my love for slow cooking - where a chewy cut of meat is transformed into a gloriously succulent bite - is united with the fresh flavors offered by the gremolata, creating a deep, savory taste which elevates the dish to flavorful heights.

Robust Milanese Osso Buco with Gremolata and Rice


Of course, this is truly a simple dish to cook. But as mentioned many times before, and holds for all good food, what matters is making sure the ingredients are of high quality and providing the cooking with proper time and care. Food of this caliber, with shanks - which is by nature chewy if cooked briefly, becomes tender to the extent that it melts in the mouth if they are cooked long enough.


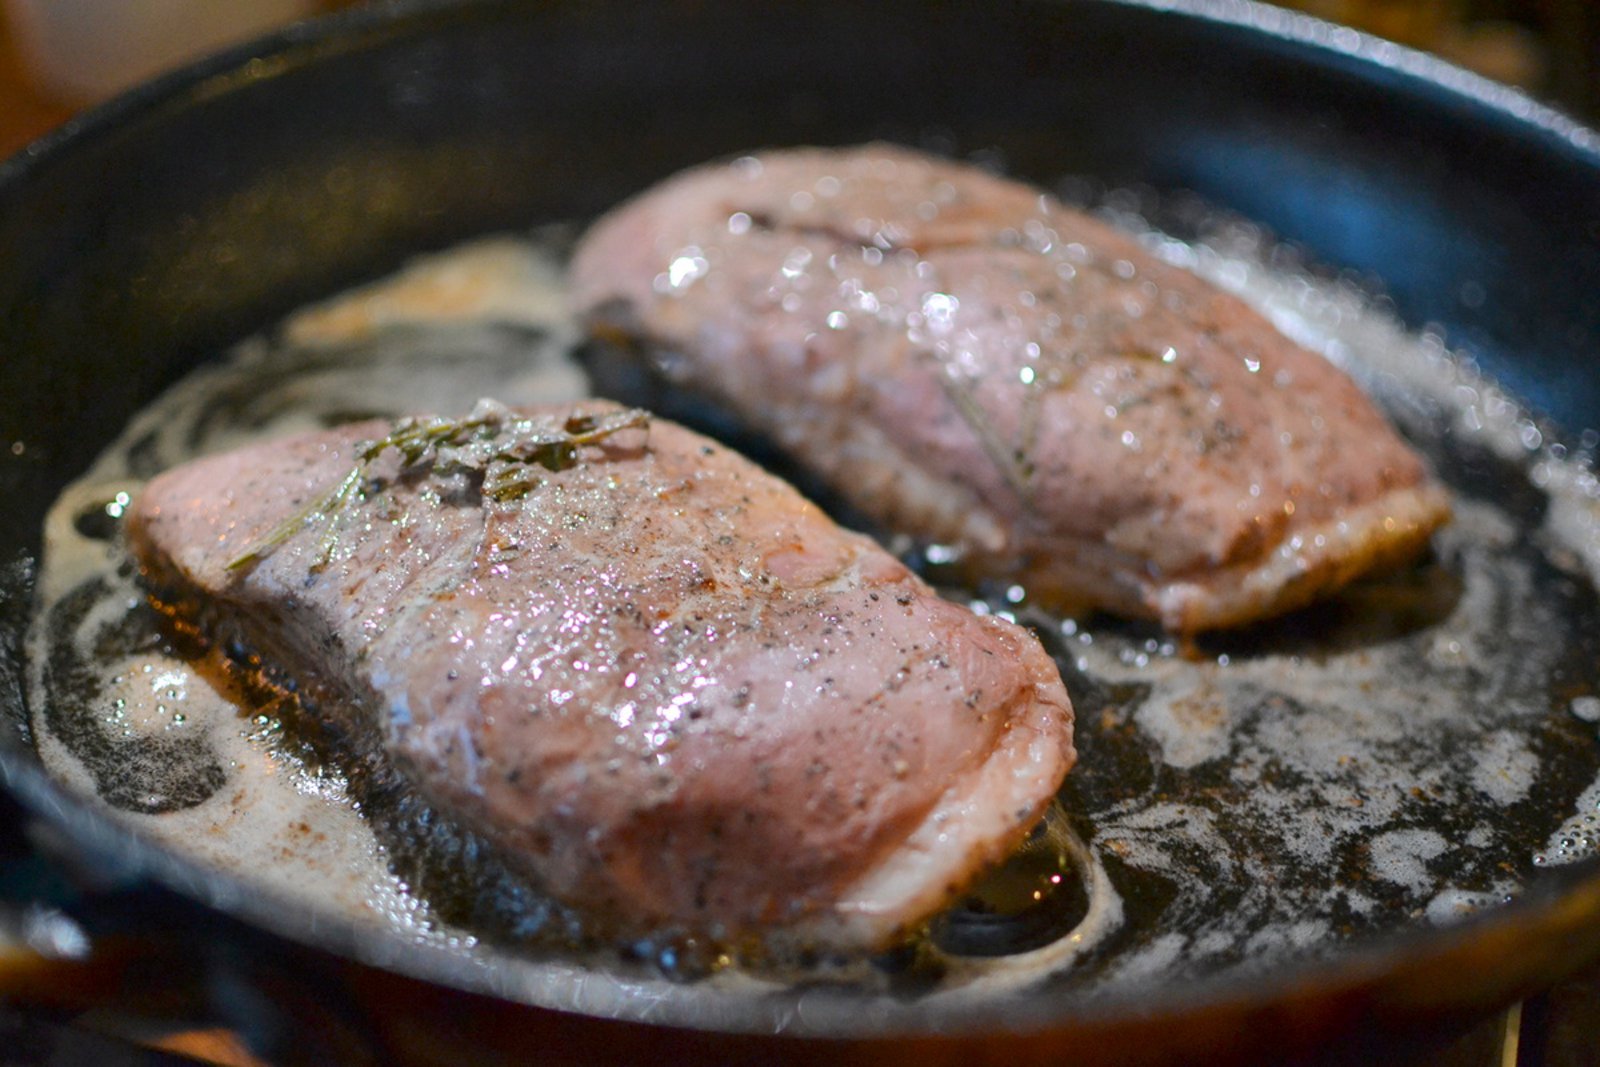
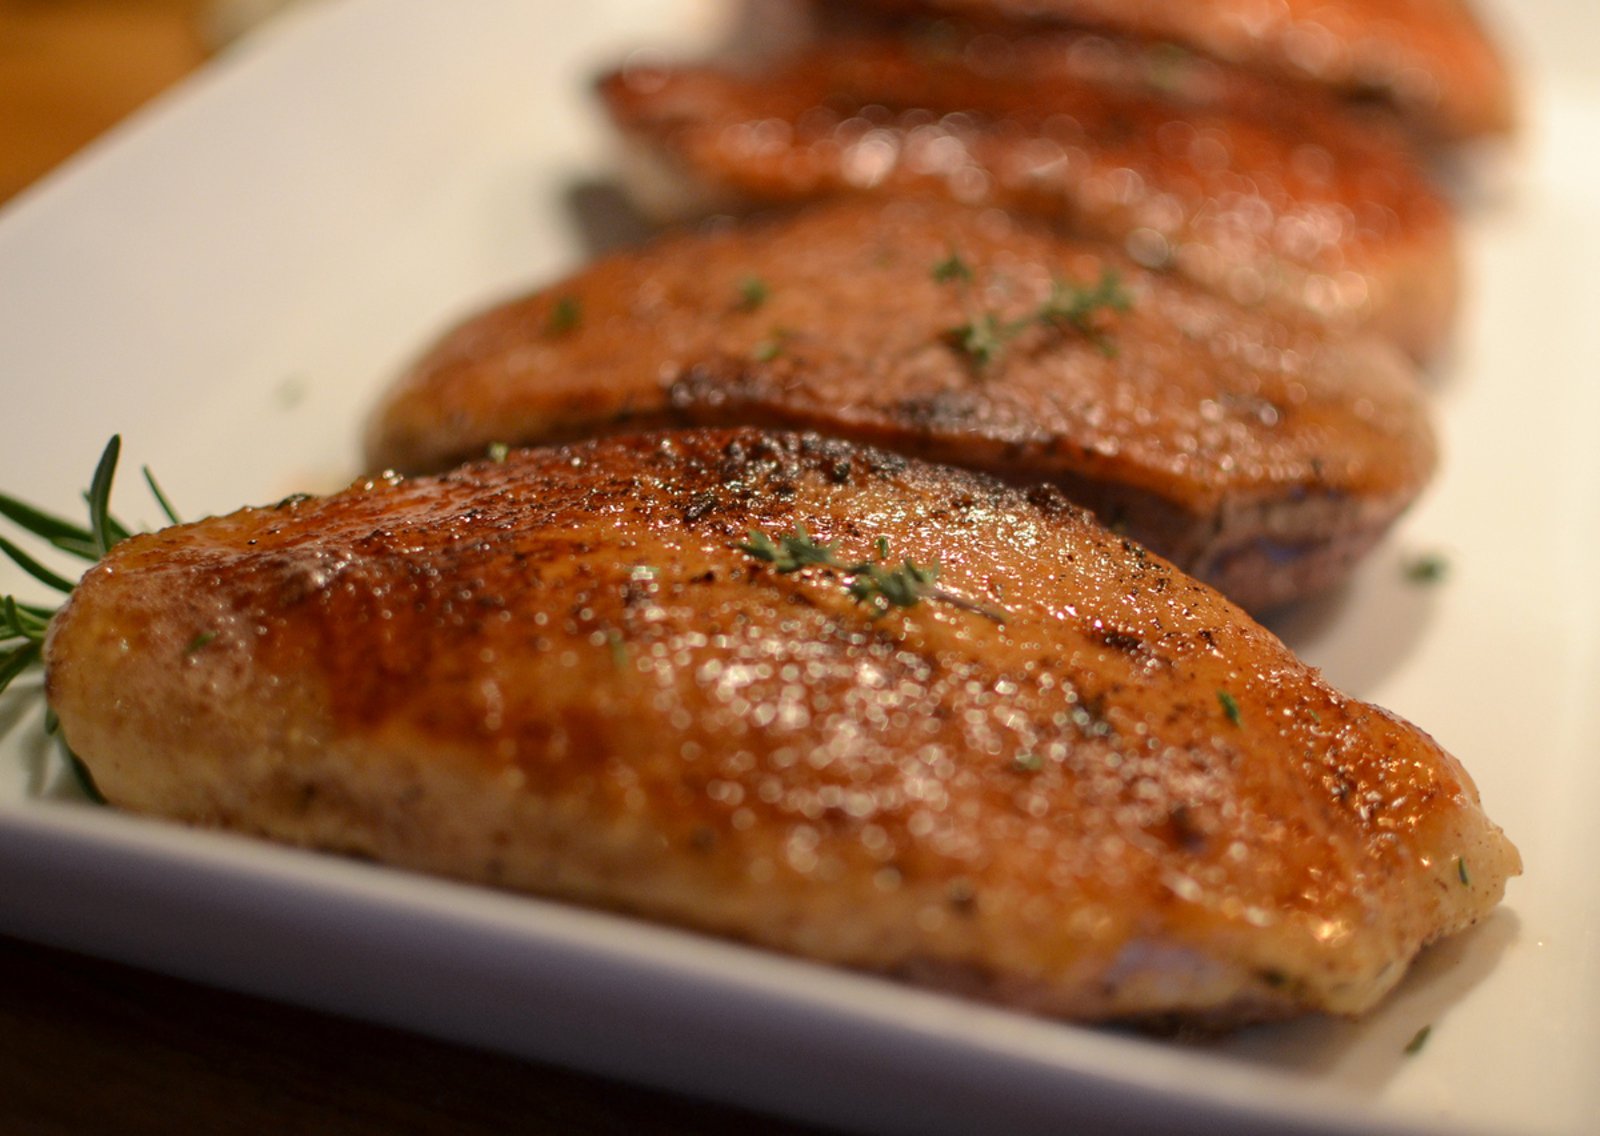
First, dust the veal shanks in seasoned flour, and by this I mean flour that has been seasoned with salt and pepper. Next, it is fried in a hot pot until both sides are beautifully browned. Set aside the meat while you care to the vegetables.


I cut, as is my habit, two carrots, two sticks of celery, two yellow onions and three cloves of garlic, and fried in the same pot where the meat received its treatment. This mixture of carrots, celery and onion is commonly referred to as "mirapoix" in French cooking and forms the basis for most soups and stews! There are other versions of mirepoix from varying countries, "the holy trinity" in Cajun cooking, "refugado" in Portuguese cooking, "sofrito" in Spanish, and "suppengrunen" in German cuisine, just to name a few. The contents differ slightly from one country to the other, but everywhere the central concern is the same - creating an aromatic foundation for the meal!


By frying the vegetables in the same pot, the stock from the meat is released. When the vegetables have been generously seasoned, and assumed a soft glisten and a sweet smell, it is time for an important step!


And that means uniting the slices of meat with the vegetables. You try to arrange it in a way where the slices rest in between the veggies, although without the ingredients being piled on top of each other.


Next pour a large glass of white wine over the meat, and the liquid is allowed to boil, and then reduce by about a half.

Then you add half a liter of light stock, e.g. vegetable stock or homemade chicken stock. I was of course stocked with these exact things, stored in my freezer. Season rigorously.


Following this, little remains but to place the lid on top of the pot and transfer the entire shebang into a 120 degree hot oven for 2-3 hours.


While the stew is cooking away in the oven, there is enough time for other, yet equally imperative matters. For example, clean the kitchen, or simply continue slaving away at the hobs. The next step, making the gremolata, which is herb paste made from lemon zest, garlic and parsley.


You must chop a handful of parsley, one clove of garlic and zest from a whole lemon.


You then stir it all together in a bowl, and just like that, it is ready to be served alongside the meat stew. With the dish - simple and ceaselessly classic - boiled white rice.


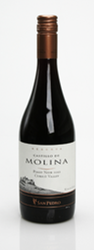
Along with the food we enjoyed some splendid red wine. I had recently picked up this bag-in-box in the "system" (the state-run alcohol monopoly). There is a variety of good wines you can get in this medium - and the quality is on the rise as many known winemakers have begun offering their wine in this way. All in all, lovely wine - thick in the glass. Good filling, a hint of spice and fresh berries.


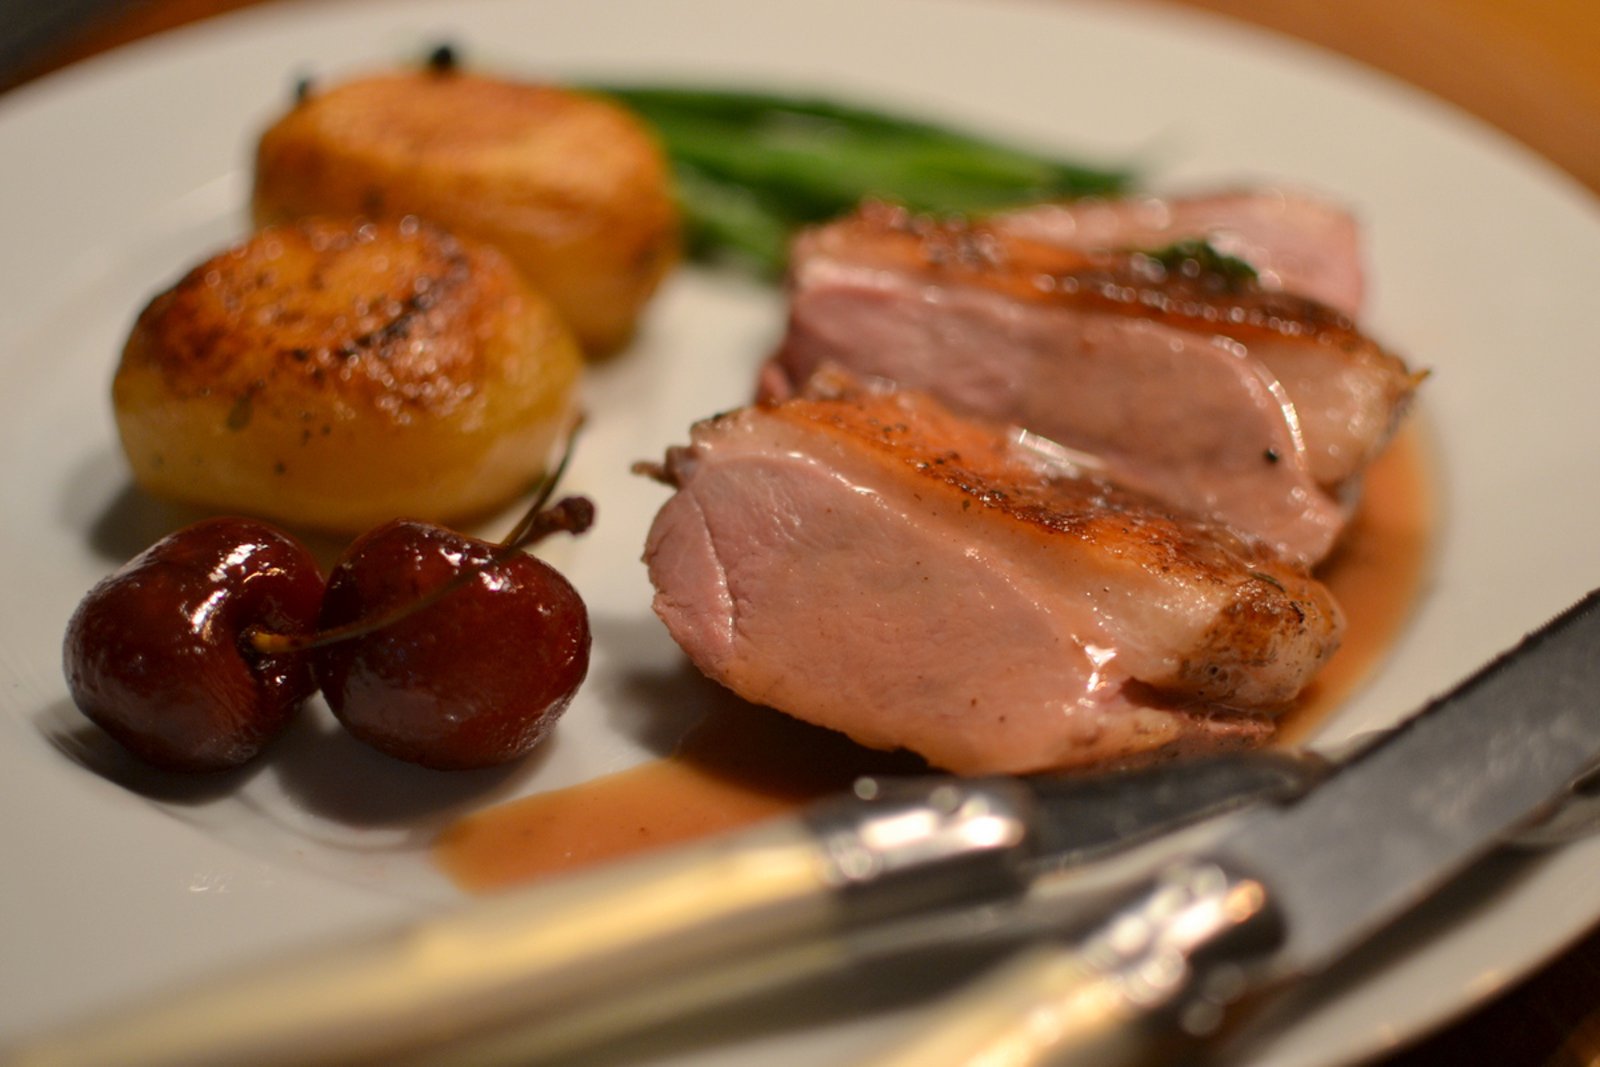
The food turned out wonderfully. The bone marrow adds layers of depth to the flavor.


And as can be seen, we left little food behind.

Bon appetit!

12 Nov 2012

Oven-grilled Lemon Sole with Caramelized Fennel and Salsa Verde


I am constantly seeking new ways to  cook fish. Although, most of the time I end up cooking the fish in the most simple way possible, in order for it to properly shine. That is usually the case when it comes to fish - you deal with it as little as you can, and it will automatically stand out in the dish. But this is of course dependent on the kind of produce you have, and freshness is of the essence here. And as I have mentioned numerous times in my blog, the accessibility of fresh fish quite an arbitrary matter. For an Icelander, though, this issue does not really present itself. Despite all of this I have made contact with a company in Malmö called Galleri fisk, which sells frozen Icelandic fish, and it has proven to be very resourceful when it comes to my need for quality fish! I have bought cod there, along with ling and now, lemon sole. And it was very accessible - order online and home delivered. 


Lately I have been most enthusiastic about grilling the fish in the oven; penciling it lightly with butter or oil, and placing it in a blazing hot oven. The diversity has then revolved more around the side dishes.

It's been a while since I made caramelized fennel - but, much like onion, fennel feels best in a butter bath at a low temperature, for around 30-45 minutes. It will be elevated to the seventh heaven.  

Salsa verde is an ancient sauce. It is believed that it has its roots in the Mid East, and traveled with Roman soldiers to Rome around 2000 years ago. Consequently, it spread around Europe and underwent a myriad of alterations. The recipe I drew upon can be traced back to Italy

Oven-grilled Lemon Sole with Caramelized Fennel and Salsa Verde


Step one, cut the fennel into slices. Place a little butter on a pan along with a nip of oil. When the butter has melted, and the bubbling on the pan has silenced, you add the fennel. Season and fry on low temperature for around 30 minutes - up to 45 minutes. Remember to stir regularly and make sure the fennel does not brown. 


Next is the salsa verde, which really profits from resting for a short moment and settling, so that the ingredients are able to mix and mingle, and in that way, establish a harmony of flavors.  


It is difficult to fully disclose a recipe of salsa verde, since its composition is usually relative set and setting, and what is available - but mine was something along the lines of the following: Half a white onion, two cloves of garlic, one teaspoon of Dijon mustard, two tablespoons of capers, five anchovies, two tablespoons of red wine vinegar, handful of parsely, salt and pepper, and then a splash of extra virgin olive oil, until you achieve the correct thickness. 


Then you need to taste, season, more vinegar, maybe a touch of sweetness is needed, until the flavor arrives at something to one's liking. 


The paste is poured into a bowl and then placed in the fridge until the main dish is served.


The lemon sole had been allowed to calmly defrost in the fridge. I spread a sheet of aluminium on the bottom of an oven tray and then penciled the fish the butter/oil from the fennel. And, of course, season!


The oven was heated to the maximum with the grill turned on. I then slid the oven tray into the oven and the fish was ready in seven minutes. It is imperative to not leave it in their for too long.

Cloudy Bay Chardonnay
We enjoyed this lovely wine from New Zealand with the food. Cloudy Bay Sauvignion Blanc from 2009. It is truly a flavorful wine. Beautifully lemony in the glass. Light and tasty wine - fruity with fresh and light oaky aftertaste. I certainly do not regret investing in this bottle!


With the food we served new almond potatoes and then tomatoes which I had cut an a "creative" way, which I then flavored with a little oil, balsamic vinegar, salt, pepper and finely cut fresh basil.


The food was absolutely delicious!

Bon appetit!

8 Oct 2012

Delicious Risotto with Wonderful Chanterelles and Plentiful Parmesan

During the Autumn, here in Scania it is considered a great sport to put on the walking boots and head for a mushroom hunt in the forest. This year I am going on such a journey for the third time - and it is not unusually that one goes on a few trips each autumn. Chanterelles begin pop out of the earth in late July and in some cases you can find mushrooms late into the autumn. Last winter was so mild that according to the news chanterelles were found even in late December by a family taking a Christmas stroll in the forest. 

I am most excited about stumbling upon chanterelles in the forest. I am also partial to a bit of ceps, slippery Jack, bovine Bolete and other tasty boletus mushrooms. Although, I am not yet confident enough to pick the amanitas. I head out for the forest-hunt armed with mushroom handbooks and the appropriate and mushroom-relevant "apps" in my phone - with experience I will hopefully develop a ever keener eye. It is a good rule to only pick the mushrooms you recognize and leave other musrooms be. You should also make it a habit to pick mushrroms into a basket in order to distribute the spores around the forest as you strut through it. In that way you maintain the balance of the forest!I made this dish in the beginning of August and invited my friend and colleague, Arnfríður Henrýdóttir, to dinner and of course she was recruited in the kitchen!

Delicious Risotto with Wonderful Chanterelles and Plentiful Parmesan


A beautiful Chantarelle
As I mentioned previously, I have a penchant for chanterelles. They are beautiful to look at, a pleasant glowing orange with an aroma of dried apricots and forest earth. They are sometimes hard to find because sometimes they look like fallen autumn leaves. They are commonly found in hollows in mixed forests, and often grow in a circle so if you find one, good chances are that you find another. 


Cleaning the mushrooms

And, as I said before, our friend Addý had to work for her food. She was provided with a small brush so she could clean any excess dirt of the mushrooms. You should of course do this while you are still in the forest, so you distribute the spores over the forest floor instead of the kitchen table.


Starting the risotto

First, I fried the following over medium heat: finely diced white onion, four garlic cloves and two sticks of celery in a splash of oil - until the vegetables are soft and translucent. Then I added about 400-500 gr of Arborio rice and fried for a couple of minutes. You have to be careful to stir so the rice and the vegetables will not burn.


Adding some wine
You need at least three glasses of wine to make a proper risotto. You pour the first glass over the rice when the sides of each grain turn translucent. The second glass is of course destined for the chef and the third glass you drink with the meal!

In any case, you wine is reduced and when it has almost evaporated, you pour in some chicken or vegetable stock.


Chicken stock

I happened to have some home made chicken broth in the freezer. I made it over the summer after having rummaged through my freezer in search for carcasses of "Bjäre kyckling" (a gourmet chicken here in Sweden). As a result, I made nearly 10 liters of powerful chicken stock which I divided into bags so I could grab one when in need. In situations like this one!

A ladle at a time

One should add only one ladle of stock at a time - nothing more! ;Making risotto requires care and attention - you have to follow your heart! Allow each ladle of stock to boil away - and give the rice a chance to absorb the flavorful stock and release the starch that will later thicken the risotto.

Stirring is essential
And you have to remain at the risotto's side. You have to stir the rice continuously so the liquid is evenly distributed and nothing will be burned to the bottom.
A feast of chantarelles
You keep adding stock until the rice become al dente like pasta. A few minutes before the rice is cooked you can attend to the next step, i.e. adding whatever ingredients you have chosen to the risotto - this time chanterelles - but in actuality you can use almost anything - other mushrooms, asparagus, beans, the sky is the limit. Simultaneously, season to taste.
Close with butter and parmigiana cheese
When the risotto is ready you have to taste and season according to your taste. As a finishing touch, it is good to add a knob of butter and a handful of Parmesan, which is stirred into the concoction.
Trivento Mixtus

With the food we had a little bit of this bag-in-box. Trivento Chardonnay - Chenin, which we had in the fridge. I have tasted this wine at some point before - and it's quite nice. It originates in Argentine and is luminously yellow in the glass, smells of light fruit with corresponding fresh tones on the palate.

Serve the meal
I would recommend a nice salad with this dish and maybe a loaf of good bread - and, of course, a generous scraping of Parmesan cheese over the lot never goes a miss.
And devour!

Bon appetit!

2 Oct 2012

Sous-Vide Duck Breasts with Fried Cherries and Pomme Fondant Potatoes


My wife and I recently had the good fortune of welcoming our third child into the family. This small miracle took place on august 24th when my wife gave birth to a beautiful baby girl. All went well and we brought our little baby girl home the day after, on a beautiful sunny Saturday morning. She was 
avidly greeted  by her two older siblings whom were happy too meet their new baby sister. The youngling was a little startled during this first meeting as can be seen on the above picture. 

That very evening I made this meal for the love of my life, Snædís. One of her favourite foods is duck and therefore was this an obvious choice. And she certainly deserved it. I don't think we men don't give our women appropriate credit for their efforts during pregnancy and labour, maybe because we are so relieved that we are not in their shoes. A colleague of mine, a gynaecologist, said jokingly that if men were to give birth, they would all be put under general anaesthesia, and on the moment of their waking deemed fit for receiving the highest medal the state would offer! 


Well, lets get on the subject - food! This is the second time that I attempt to cook something "sous-vide". Cooking this way means that you seal the food in an air and water resistant bag and then cook the food in the bag at a stable and low temperature. The pros about this type of cooking is that it is supposed to retain more flavor and cook more evenly - getting the "perfect" core temperature throughout the whole piece of meat. This all sounds like a lot of hassle - but actually it isn't that at all - and the result is absolutely stunning, and most important, tastes wonderful.


Sous-Vide Duck Breasts with Fried Cherries and Pomme Fondant Potatoes


For those who don't own a vacuum sealer, there are other means of sealing in the meat, for example using water pressure, pressing the air out, and sucking it out with a straw. Youtube offers many handy ways to grapple with this. 


I washed the duck breasts and then padded them dry with a cloth.


I placed two pieces of breast per bag and seasoned with pepper, no salt this time in order not to draw too much water from the breast and finally a reasonable amount of thyme and rosemary.


I placed the bags in preheated water - temperature: 62 degrees Celsius. I made sure to monitor the thermometer frequently, every five minutes or so, in order not to overheat the water. At one point the temperature rose - so I just removed some warm water and replaced it with cold tap water. Using this method it is very hard to overcook the meat. It will never surpass the temperature of the cooking water - so leaving the duck breast for an extra hour will bear no consequence on the doneness of the meat - it will be perfect!


While the duck breast was in the oven I took care of the side dish. On this occasion I made some Pommes Fondant - which is a delicious potato dish cooked in butter and broth. I fetched some new potatoes from my garden - washed them thoroughly and peeled. They are cut in a certain way to create a bottom that is rather a flat surface. First I fried them in butter and flavored with lemon thyme from the garden.


My son, Villi, has been very helpful in the kitchen these past few weeks. Always ready to lend a hand. Now he has even begun to cut vegetable for the salad and is a very efficient "go getter". He proudly placed the potatoes in the ovenproof dish. I then poured warm homemade chicken stock 2/3 of the height of the potatoes. Placed in a 180 degrees warm preheated oven for just under and hour.

The cherries were cooked accordingly; first but a tablespoon of butter in a small pot and then place the cherries, stem facing upwards. Fry on low temperature for a few minutes. Then add some chicken stock to nearly cover the berries. Cook further, for a few minutes and remove them just before the lose their form, and put to the side. I then added more chicken stock and all the liquid from the bags in which the duck had been cooked. I then added two tablespoons of cherry jam, 2 dl of thick cream, seasoned with salt and pepper. Brought to a simmer and left so until the meal is ready to serve.


After just over an hour I removed the duck breast from the pot. As I mentioned I poured all the liquid in the sauce and placed the duck breast on a plate where they are patted dry with a cloth.


I also removed most of the herbs but added more salt before frying the duck gently on the outside.


More butter was added to the pan. And then the duck was fried for a 3-4 minutes on medium heat until the skin was beautifully crispy - and then just for a moment on the flesh side. 


You don't want to overcook the duck - they are already perfect on the inside. 


If you don't salivate over the above photograph - then I doubt you could call yourself a foodie!


De Molina

With the food I drank some Castillo De Molina Reserva Pinot Noir from 2010. This is a wine from town of Molina in Chile. The winemaker Vina San Pedro has been making wines since 1865 and it is one of the larger manufacturers in the country. This is a lovely wine to serve with duck. Has a bright ruby color, scents of berries and a touch of cherries on the palate along with some mild oak tones. 


Bon appetit!

LinkWithin

Related Posts Plugin for WordPress, Blogger...